Users
Adding a new user
- Select the unit to which you want to add the new user.
- Choose "Add", "New user..." from the button bar.
- The "User properties" screen is displayed:
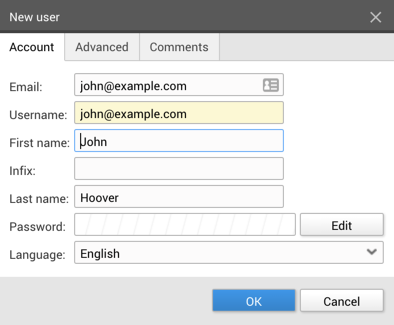
- Fill in an e-mail address and the username (if available: in some configurations, the e-mail address is also the username).
- Fill out the rest of the information.
- You can enter a password, but it is safer to leave this empty and let the user choose their own - see "sending a password link".
- Choose the language for the user (they can change this afterwards in their personal preferences)
- Click "OK" to save the user.
The user is added, you can now send a password link.
Sending a password link
After creating a new user, or when a users has requested a new password, you can let the system create a password reset link that you can send to the user. The user can then choose their own password.
- Select a user.
- Choose "Create password reset link" from the menu in the button bar.
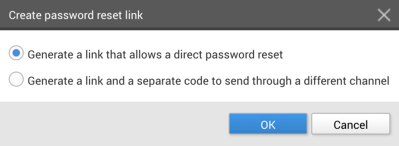
- You will offered two options - to only generate a reset link or generate a reset link and verification code:
- Copy the reset link (you can use the 'copy' action in the link field) and send it to the user, for instance by e-mail.
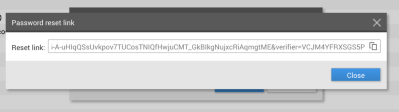
- If you opted for a verification code you need to copy and send this to the user as well, preferably trough another channel or at least a different message.
The user can open the link and create their own password. If a verification code was added, the user need to provide this when choosing their password.
Changing a user
To change the user's properties you can double click on a user or select a user and choose "Properties". In the properties screen the information can be changed. For security reasons you can not view the current password, but you can change the password or, preferably, send a new password link.
Blocking a user
To (temporarily) prevent access to a user, you can block their account.
- Select the user and choose "Properties".
- Select the "Block this account" checkbox and enter a (mandatory) reason
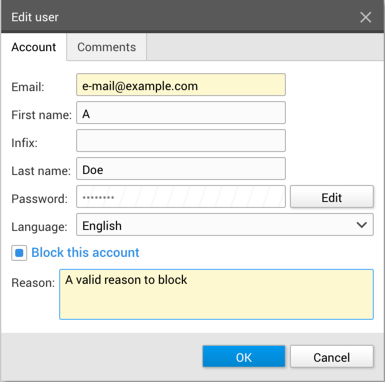
- Click "OK" to save the changes
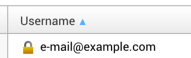
The user can no longer access this WebHare portal. You can recognise the blocked account by the 'lock' icon:
Moving a user
A user can be moved by selecting the user and choosing "Move..." from the menu. A user can only be moved to another existing unit where you have the right to add users - units you are allowed to see but to which you can't move users to have red 'forbidden' icon.
Deleting a user
A user can be deleted by selecting the user and clicking the "Delete" button. You will be asked for confirmation, after which the user definitively deleted.